
I saw this pillow in Pottery Barn last year and loved it. It seemed simple enough to replicate, so I gave it a try. I am pretty happy with how it turned out. Craig, however, is wondering what it's purpose is, if he can't lay his head on it.


Here is what you need:
Pillow or pillow cover
1/2 yard cream (or other color) felt
Embroidery floss and needle
Jingle Bells
I already had a extra pillow laying around that looked similar to the original, so that saved a step. The pillow I used is 14 inches square. It looks like the PB pillow uses a linen of some sort. Mine has a velvet like texture.
Start by cutting out petals from the felt. You will need 5 large, 5 medium and 5 small. I measured from the center of the pillow to the corner and then made the largest petal a little shorter than that length. I didn't use a pattern for cutting them out as I wanted them to look different from each other.

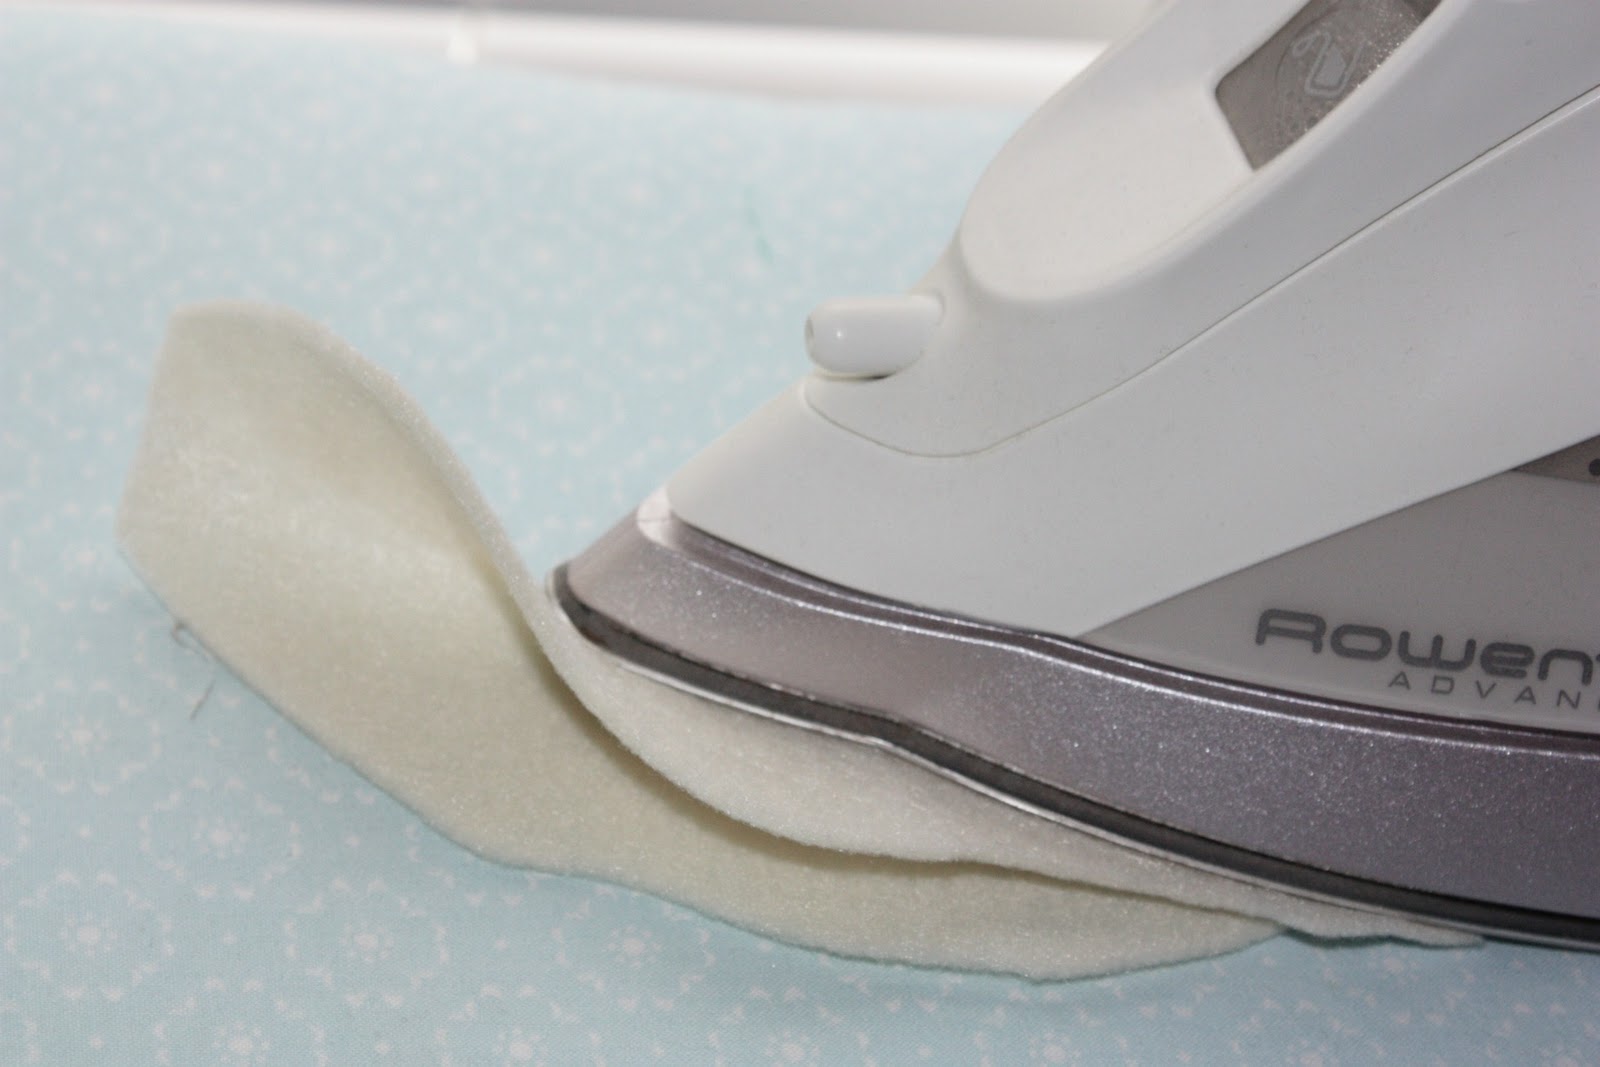
Next, iron the petal on medium heat to make a center line. This also gives some dimension.
Arrange the 5 largest petals in star like pattern. For you math nerds, place them 72 degrees from center to center. Pin down and use all 6 strands of the embroidery thread to stitch down the center of the petal.

Arrange the medium petals in the spaces between the larger petals. Stitch in place. Repeat with the smallest petals. It got a little difficult to sew through all the thicknesses, so I switched to a longer needle and that made it a little easier.

Place the jingle bells to your liking and stitch in place. I couldn't find small bells that I liked, but these larger ones do the trick.

And there you have it...a quick and easy project.
Have fun decorating for Christmas!

